
Introduction
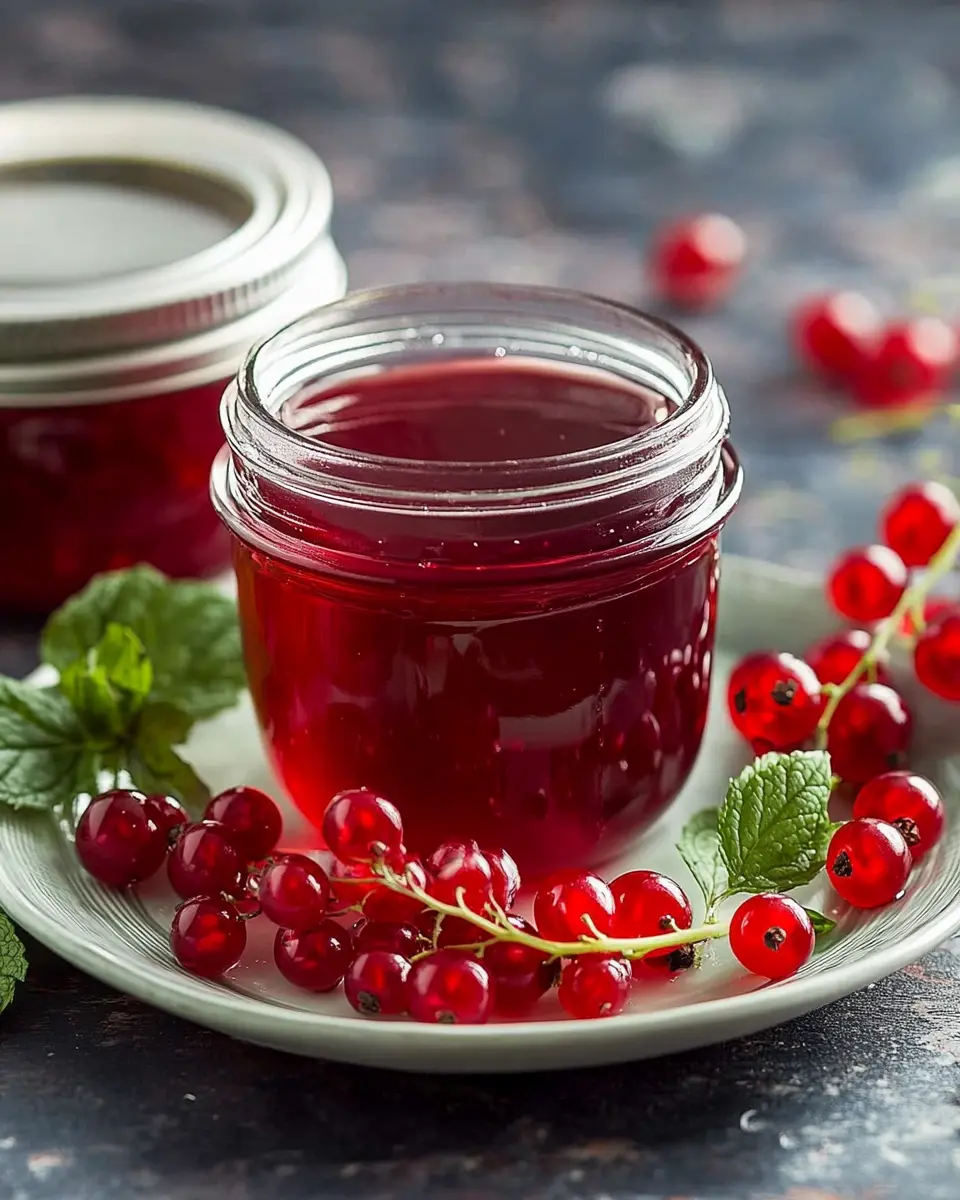
Homemade Redcurrant Jelly is a delightful way to capture the vibrant flavors of fresh redcurrants right in your kitchen. Whether you’re a seasoned canner or a curious beginner, this easy recipe will guide you through the process of making a sweet and tangy jelly that can elevate your breakfast table or serve as a charming gift.

The process of making redcurrant jelly is not only satisfying but also allows you to enjoy the seasonal bounty of these tart berries. As you wash and crush the redcurrants, you’ll experience their refreshing aroma, which is a precursor to the delicious treat that awaits. The combination of sugar and lemon juice balances the tartness of the fruit, creating a rich flavor profile that pairs perfectly with meats, cheeses, or simply spread on warm toast.
In just 45 minutes, you can transform simple ingredients into a jar of joy, perfect for spreading or using in desserts. With just a few easy steps — boiling, mixing, and canning — you’ll find that homemade redcurrant jelly is not only a tasty addition to your pantry but also a fun project to share with family and friends. So, roll up your sleeves and let’s dive into the art of jelly-making, where each jar tells a story of freshness and love for homemade food.
Key Ingredients
Redcurrants (4 cups):
These tart, ruby-red berries are the star of the show, providing a vibrant flavor that forms the base of your jelly. Packed with vitamin C, they add a refreshing zing to your preserves.
Sugar (2 cups):
Essential for sweetness, sugar helps balance the tartness of the redcurrants. It also acts as a preservative, ensuring your jelly has a longer shelf life.
Lemon Juice (1/4 cup):
This ingredient adds brightness and acidity, enhancing the flavor profile of the jelly while also helping it set properly. Freshly squeezed lemon juice is recommended for the best taste.
Fruit Pectin (1 package):
Pectin is a natural gelling agent that helps your jelly achieve the perfect consistency. It ensures that your redcurrant jelly sets beautifully, making it spreadable and enjoyable.
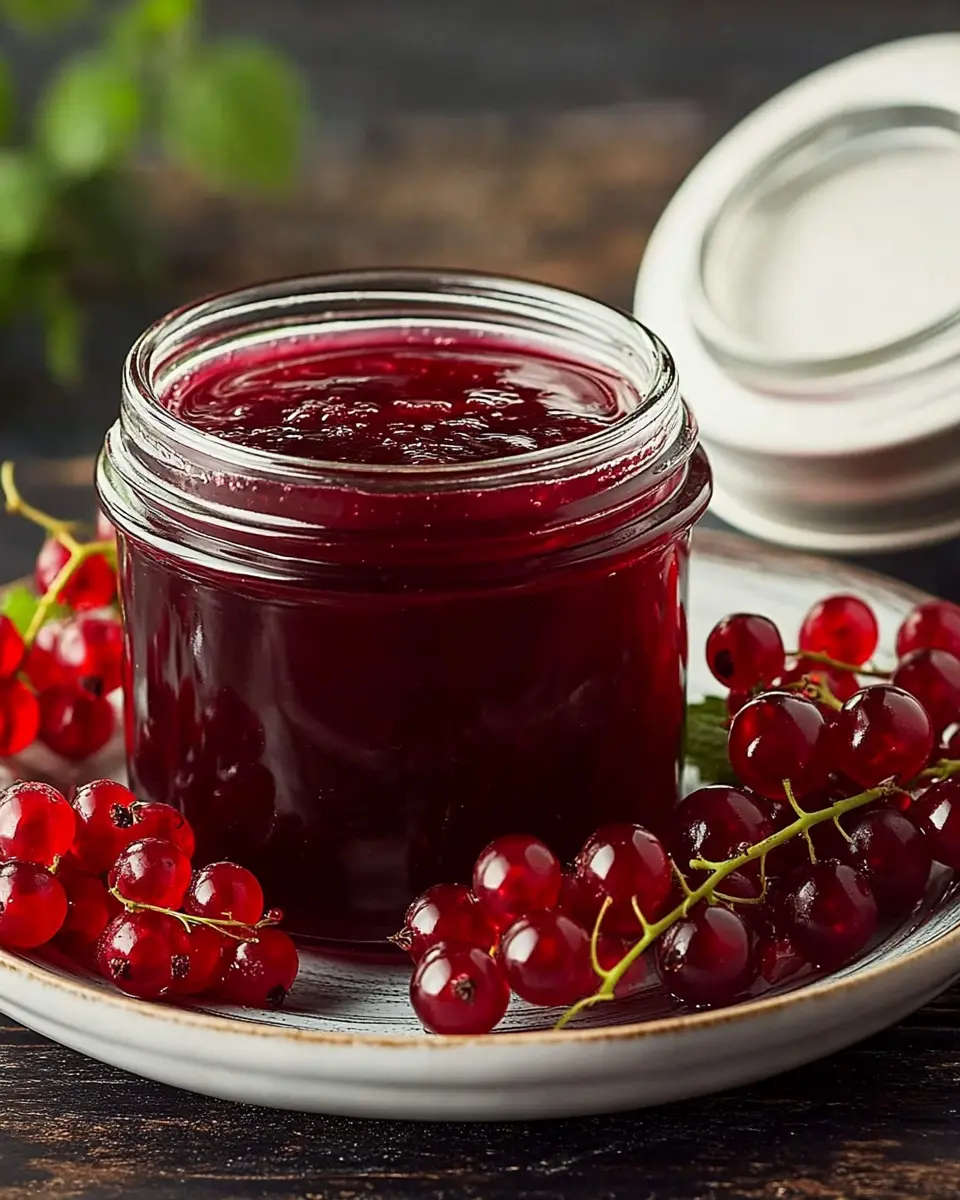
Homemade Redcurrant Jelly is a delightfully easy recipe that beautifully showcases the fresh flavors of seasonal berries. By using these key ingredients, you can create a delicious spread that’s perfect for toast, desserts, or as a gift for loved ones.
Why You’ll Love This Recipe
Homemade Redcurrant Jelly is not just a delicious treat; it’s a celebration of seasonal flavors that you can create in your own kitchen. This jelly captures the essence of fresh berries, offering a perfect balance of sweetness and tartness that can elevate any meal.
One of the best aspects of this recipe is its simplicity. With just four key ingredients and straightforward instructions, young professionals and homemade-food lovers can whip up a batch in under an hour. Imagine the satisfaction of spreading your own homemade jelly on toast or using it as a glaze for meats!
Moreover, making jelly at home allows you to control the sweetness and ensure there are no preservatives or artificial additives. As you pour the vibrant redcurrant jelly into sterilized jars, you’ll not only save money but also feel a sense of accomplishment. Plus, it makes for a lovely gift option for friends and family, showcasing your culinary skills.
So, whether you’re enjoying it on a lazy Sunday brunch or gifting it to a loved one, this homemade redcurrant jelly is bound to impress. Let’s dive in and make a batch that you’ll cherish all year round!
Variations
Homemade Redcurrant Jelly is versatile and can be adapted to suit your taste preferences or to utilize what you have on hand. Here are a few delightful variations to consider:
Spiced Redcurrant Jelly
Add a pinch of cinnamon or a few cloves while boiling the mixture to create a warm, spiced flavor profile. This variation pairs beautifully with roasted meats or as a unique addition to cheese platters.
Mixed Berry Jelly
Combine redcurrants with other berries like raspberries or blackberries for a mixed berry jelly. This not only enhances the flavor but also gives your jelly a beautiful color and depth.
Citrus Twist
For a refreshing twist, incorporate the zest of an orange or lime along with the lemon juice. The added citrus notes will brighten the jelly and make it a perfect accompaniment to breakfast dishes.
These variations allow you to personalize your Homemade Redcurrant Jelly, making it a fun and creative culinary project. Enjoy experimenting and discovering your favorite combinations!
Cooking Tips and Notes
Making Homemade Redcurrant Jelly is a rewarding experience, but a few tips can enhance your results and streamline the process. First, always start with fresh, ripe redcurrants for the best flavor. If you can, pick them during their peak season to maximize sweetness and juiciness.
When preparing your jars, ensure they are thoroughly sterilized to prolong shelf life. You can sterilize them by placing them in a boiling water bath for 10 minutes or running them through a hot cycle in the dishwasher. This step is crucial for safe canning, preventing spoilage, and ensuring your jelly lasts longer.
Don’t hesitate to adjust the amount of sugar based on your preference for sweetness. If you prefer a tart jelly, you can reduce the sugar slightly; just be aware that this may affect the gelling process. Lastly, consider experimenting with flavors by adding a hint of vanilla or a pinch of spices like cinnamon or nutmeg during the cooking process for a unique twist. These small adjustments can elevate your jelly from good to exceptional!
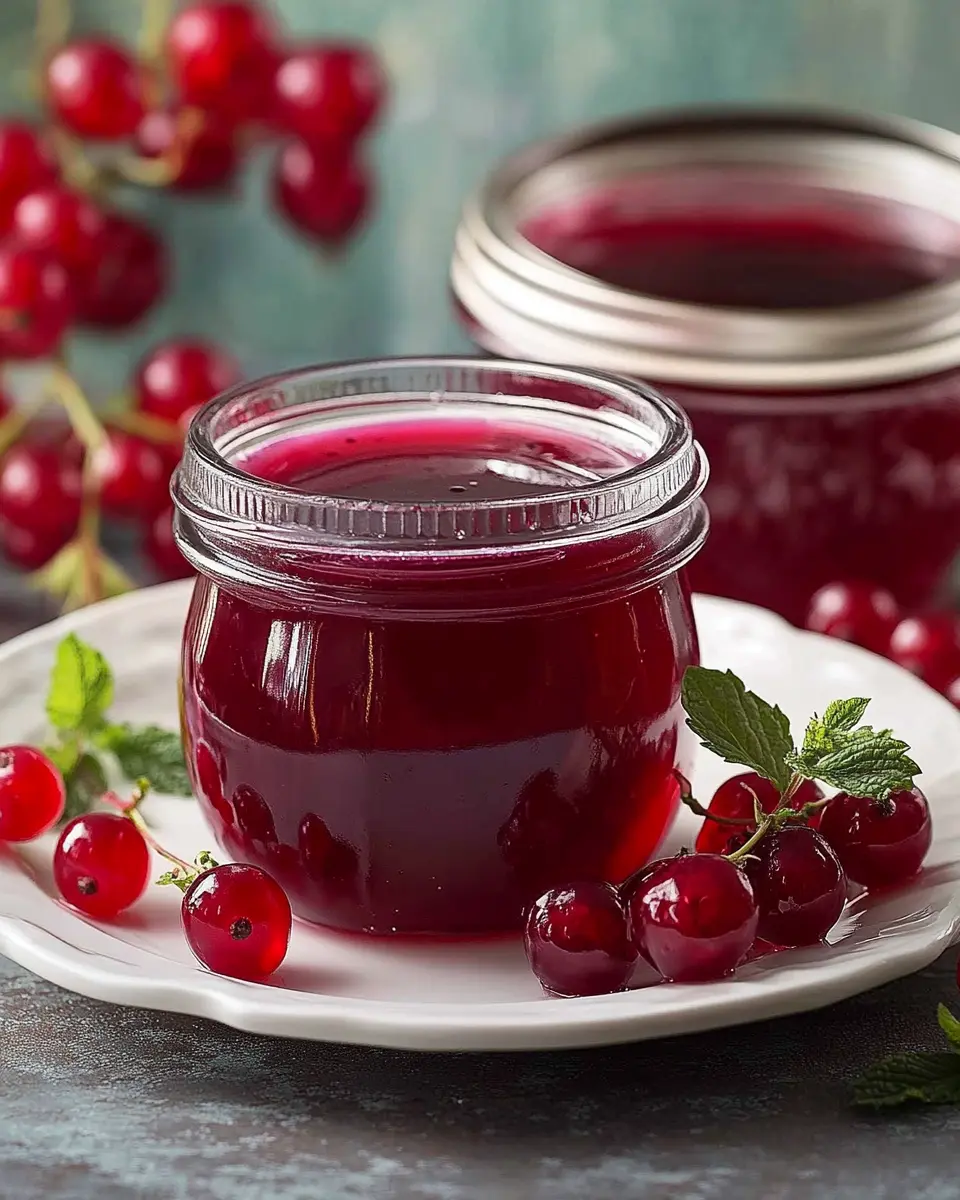
Serving Suggestions
Homemade Redcurrant Jelly is not only a delightful treat on its own but also a versatile accompaniment that enhances various dishes. Here are some serving suggestions to inspire you:
Breakfast Delight
Spread this vibrant jelly on warm, toasted bread or croissants for a delightful breakfast. It pairs wonderfully with butter or cream cheese, creating a sweet and tangy contrast that brightens your morning.
Cheese Pairing
For a sophisticated touch, serve redcurrant jelly alongside a cheese platter. Its tartness complements creamy cheeses like brie or goat cheese, making it an elegant addition to any gathering. This combination is sure to impress your guests!
Glaze for Meats
Use Homemade Redcurrant Jelly as a glaze for roasted meats, such as chicken or pork. Brush it on during the last few minutes of cooking to create a glossy finish and enhance the flavor profile of your dish. The sweet-tart flavor will elevate your meal to new heights.
These serving suggestions highlight the versatility of redcurrant jelly and how it can effortlessly enhance your culinary creations. Whether enjoyed at breakfast or as part of a gourmet dinner, this homemade treat is bound to impress.
Time Breakdown
Making Homemade Redcurrant Jelly is a straightforward process that can fit into your busy schedule. Here’s a quick breakdown of the time involved:
Preparation
15 minutes: This includes washing the redcurrants, removing stems, and getting your ingredients ready for cooking.
Cooking
30 minutes: The actual cooking time involves boiling and thickening the mixture, culminating in a delicious jelly.
Total
45 minutes: From start to finish, you can have your homemade jelly ready to enjoy in less than an hour.
For an efficiency tip, consider preparing your jars while the jelly is cooking to save time and ensure a smooth canning process.
Nutritional Facts
Homemade Redcurrant Jelly is not only a delicious treat but also offers a variety of nutritional benefits. Each tablespoon of this delightful jelly contains approximately 50 calories, making it a relatively light addition to your meals or snacks.
In terms of macronutrients, it has no fat, cholesterol, or sodium, making it a heart-healthy choice. The total carbohydrates amount to 13 grams, with about 10 grams coming from sugars, which provide a quick energy boost. While the jelly contains no dietary fiber or protein, it shines as a flavorful condiment that can enhance your dishes.
Enjoying this homemade jelly in moderation can be a delightful way to incorporate natural fruit flavors into your diet, making your meals both tasty and enjoyable!
FAQ based on “People Also Ask” Section
What is Homemade Redcurrant Jelly?
Homemade Redcurrant Jelly is a fruit preserve made from fresh redcurrants, sugar, lemon juice, and fruit pectin. It offers a balance of sweet and tart flavors, making it a delicious addition to various dishes.
How long does Homemade Redcurrant Jelly last?
When properly sealed in sterilized jars, Homemade Redcurrant Jelly can last for up to a year in a cool, dark place. Once opened, it should be refrigerated and consumed within a few weeks for the best quality.
Can I adjust the sweetness of my jelly?
Yes! You can adjust the amount of sugar in the recipe according to your taste preference. If you prefer a tarter jelly, simply reduce the sugar slightly, but keep in mind that it may affect the setting process.
What can I use Homemade Redcurrant Jelly for?
Homemade Redcurrant Jelly is incredibly versatile. It can be used as a spread on toast, a glaze for meats, or an addition to desserts. Its vibrant flavor complements both sweet and savory dishes, enhancing your culinary creations.
Conclusion
In conclusion, Homemade Redcurrant Jelly is a delightful way to enjoy the vibrant flavors of fresh berries, capturing their essence in a simple yet rewarding recipe. With just a handful of ingredients and minimal effort, you can create a versatile condiment that enhances both sweet and savory dishes. Whether you spread it on toast, use it as a glaze for meats, or add it to desserts, this jelly is sure to impress. So why not give it a try? Cook, share, and savor your homemade creation!
Print
Homemade Redcurrant Jelly
- Total Time: 45 minutes
- Yield: 5 pints 1x
- Diet: Gluten-Free
Description
A delicious and homemade redcurrant jelly that captures the essence of fresh berries.
Ingredients
- 4 cups redcurrants
- 2 cups sugar
- 1/4 cup lemon juice
- 1 package fruit pectin
Instructions
- Wash the redcurrants and remove stems.
- Place redcurrants in a pot and crush them.
- Add lemon juice and bring to a boil.
- Add sugar and fruit pectin, mix well, and bring to a rapid boil.
- Boil for 5-10 minutes until the mixture thickens.
- Pour into sterilized jars and seal.
Notes
- Ensure jars are properly sterilized for longer shelf life.
- Adjust sugar depending on sweetness preference.
- Prep Time: 15 minutes
- Cook Time: 30 minutes
- Category: Condiments
- Method: Canning
- Cuisine: Preserving
Nutrition
- Serving Size: 1 tablespoon
- Calories: 50
- Sugar: 10g
- Sodium: 0mg
- Fat: 0g
- Saturated Fat: 0g
- Unsaturated Fat: 0g
- Trans Fat: 0g
- Carbohydrates: 13g
- Fiber: 0g
- Protein: 0g
- Cholesterol: 0mg