
Introduction to Cookie Decorating with Glace Icing
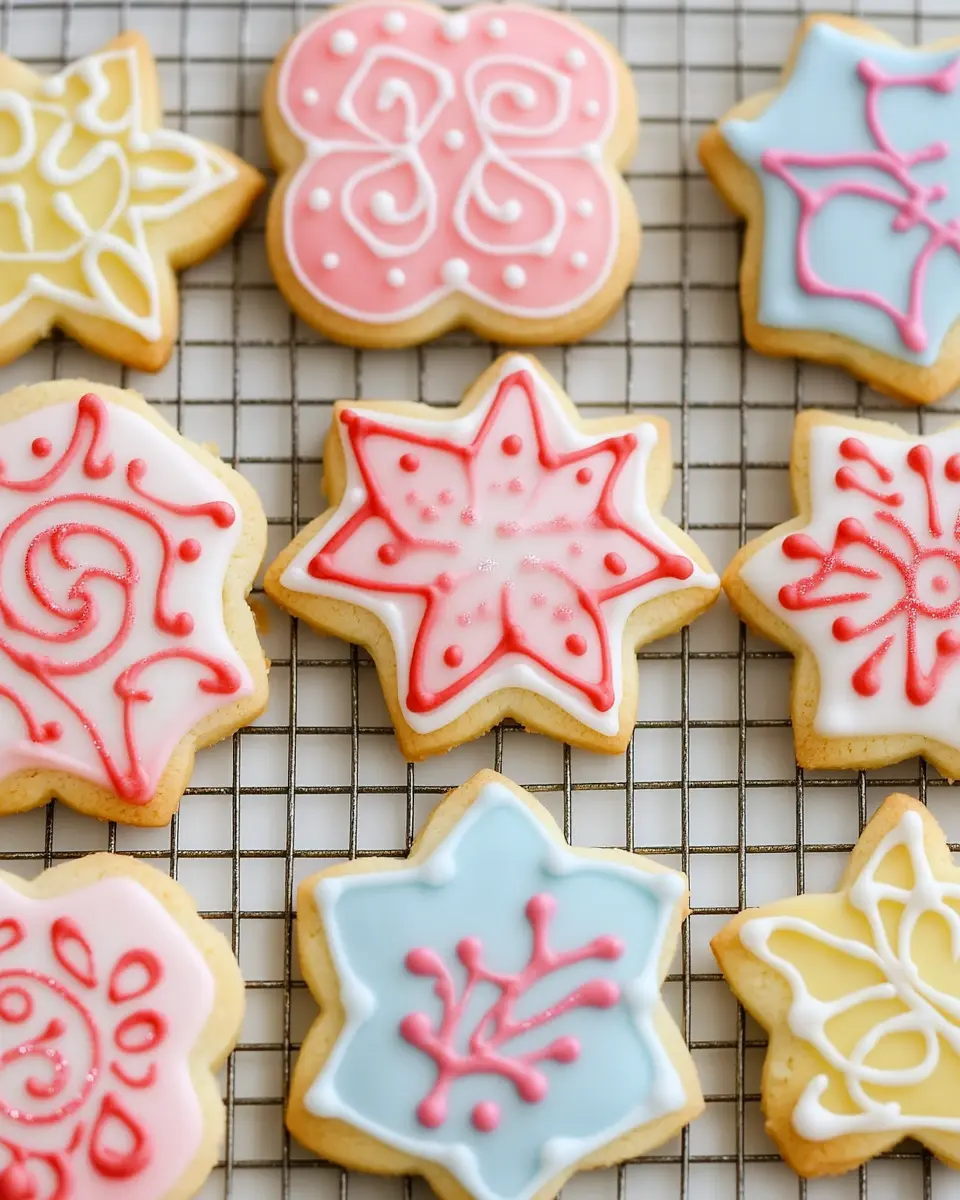
Decorating cookies can seem like a daunting task, but with the right guidance, it becomes a delightful experience that anyone can enjoy. Whether you’re planning a festive gathering or simply want to add a personal touch to your baked goods, this tutorial on cookie decorating with glaze icing will equip you with the skills you need. The beauty of glaze icing lies in its versatility — it dries to a smooth, glossy finish, making your cookies not only taste great but also look stunning. Plus, the process can be a wonderful bonding activity for friends and family, turning a simple treat into a memorable project.

As we dive into the creative world of cookie decorating, remember that the key to success is practice and patience. Start with the basic technique outlined in this tutorial, and you’ll find that you can easily adapt and personalize your designs as you gain confidence. So, gather your ingredients, unleash your creativity, and let’s turn those plain cookies into colorful works of art that will impress everyone!
In the following sections, we will explore the essential ingredients needed for the perfect glaze icing, step-by-step instructions to achieve stunning results, and helpful tips to ensure your decorating experience is enjoyable and successful.
Key Ingredients for Cookie Decorating with Glace Icing
To create the perfect glaze icing for your cookie decorating adventure, you’ll need a few essential ingredients that are simple yet effective in achieving a beautiful finish.
Powdered Sugar (2 cups)
Powdered sugar is the main ingredient used to create the base of your glaze icing. Its fine texture allows for a smooth consistency, which is crucial for a flawless application on your cookies.
Milk (2 tablespoons)
Milk adds the necessary moisture to the icing, helping to achieve the right consistency. You can adjust the amount of milk depending on whether you prefer a thicker or thinner glaze.
Vanilla Extract (1 teaspoon)
Vanilla extract not only enhances the flavor of your icing but also brings a lovely aroma to your decorated cookies. This subtle flavor complements the sweetness of the powdered sugar perfectly.
Food Coloring (optional)
Using food coloring will allow you to personalize your icing with vibrant hues, making your cookies visually appealing. Just a few drops can transform a simple glaze into a colorful masterpiece.
Each of these ingredients plays a vital role in creating a delicious and visually appealing glaze icing that will elevate your cookie decorating game. With just these simple components, you’ll be able to craft beautifully decorated cookies that are sure to impress!
Why You’ll Love This Recipe
When it comes to cookie decorating, this tutorial on cookie decorating with glace icing stands out for its simplicity and delicious results. Perfect for busy young professionals or anyone looking to add a personal touch to their baked goods, this glaze icing recipe is quick to make and requires minimal ingredients.
Easy and Quick Preparation
With just 15 minutes of prep time, you can whip up a batch of beautifully decorated cookies without spending hours in the kitchen. The straightforward instructions make it accessible for even the most time-pressed individuals. Imagine the joy of presenting a platter of gorgeous cookies at your next gathering!
Customizable Colors and Designs
One of the best aspects of glace icing is its versatility. By adding food coloring, you can create an array of vibrant designs that suit any occasion, whether it’s a birthday party, holiday celebration, or just a fun weekend activity. The opportunity to personalize your cookies adds an extra layer of enjoyment and creativity to the process.
Delicious Taste with a Smooth Finish
Not only do these cookies look stunning, but the glaze icing also enhances their flavor. Made with powdered sugar, milk, and vanilla extract, the icing provides a delightful sweetness that complements the cookie base perfectly. Plus, the smooth, glossy finish makes every bite visually appealing, making them hard to resist.
In summary, this cookie decorating tutorial is perfect for homemade-food lovers seeking a fun and easy way to create stunning treats. Dive into the world of cookie decorating and impress your friends and family with your newfound skills!
Variations of Cookie Decorating with Glace Icing
Exploring variations in cookie decorating can elevate your baking game and unleash your creativity. With the basic glaze icing recipe as your foundation, you can experiment with different flavors, colors, and techniques to make each batch unique.
Flavor Infusions
One way to vary your icing is by infusing it with different flavors. Instead of using just vanilla extract, consider adding almond extract or citrus zest for a refreshing twist. These subtle changes can create a whole new taste experience, enhancing the overall flavor of your cookies.
Color and Design Techniques
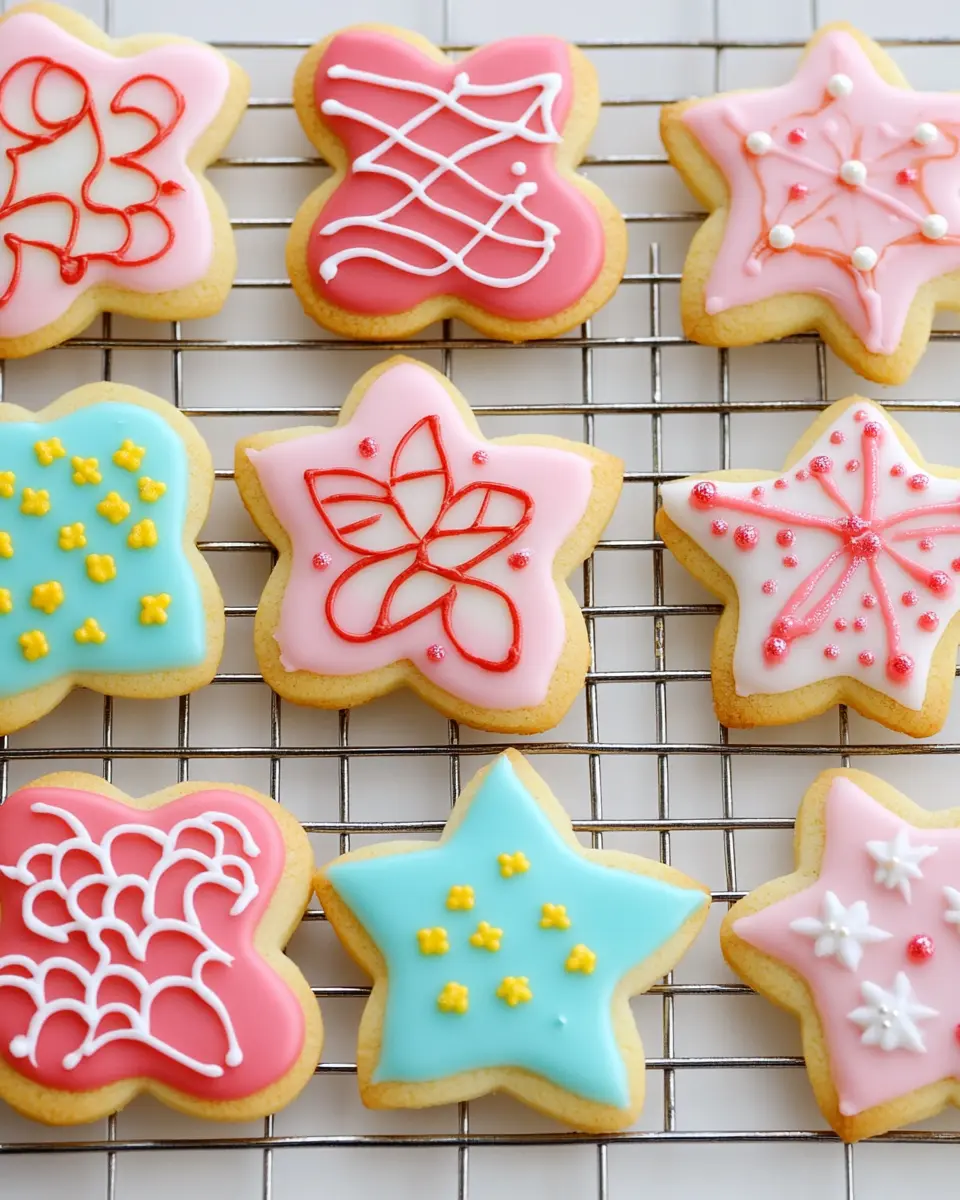
The use of food coloring can take your cookie designs to the next level. Try creating ombre effects by gradually mixing in more coloring to your glaze, or use multiple colors for a marbled look. Furthermore, consider using stencils or cookie cutters with intricate designs to add depth and character to your cookies.
Textured Icing
For a fun twist on traditional glaze icing, you can experiment with textured icing techniques. By adjusting the consistency of your glaze, you can achieve different textures, such as a thicker icing for raised designs or a thinner glaze for a smooth, shiny finish. Adding a sprinkle of edible glitter or colored sugar can also add an eye-catching sparkle to your creations.
Each of these variations encourages you to express your style and creativity while decorating cookies. The possibilities are endless, making this tutorial on cookie decorating with glace icing not just a recipe, but a creative journey!
Cooking Tips and Notes
Decorating cookies with glace icing can be a rewarding experience, especially when you have the right tips to guide you. This section covers essential techniques and notes to ensure your cookie decorating is both fun and successful.
Adjusting Consistency
One of the most important aspects of working with glaze icing is achieving the right consistency. If your icing is too thick, it may be difficult to spread or pipe, while a glaze that is too thin may run off your cookies. To adjust the consistency, simply add a little more milk for a thinner icing or more powdered sugar for a thicker one. Finding that perfect balance will help you create beautiful designs that hold their shape.
Drying Time
After decorating your cookies, it’s crucial to allow the icing to dry completely before serving or packaging them. Depending on the thickness of your icing, this can take anywhere from 30 minutes to several hours. For best results, place your cookies on a wire rack to promote even drying. If you’re in a hurry, using a fan can help speed up the process without compromising the finish.
Experiment with Techniques
Don’t be afraid to experiment! Use piping bags or squeeze bottles for detailed designs, or try a simple poured glaze for a smooth look. You can also create fun patterns by layering different colors of icing or using a toothpick to swirl colors together. Remember, practice makes perfect, and the more you decorate, the more skilled you’ll become.
These tips will enhance your cookie decorating experience and ensure that your creations not only look amazing but taste delicious too!
Serving Suggestions
Decorating cookies with glace icing opens up a world of delightful serving possibilities. Whether you’re preparing for a holiday gathering, a birthday party, or simply a cozy evening at home, these beautifully decorated cookies are sure to impress.
Perfect for Any Occasion
Glace icing cookies make a fantastic centerpiece for any dessert table. Their colorful designs can complement themes for events like Christmas, Halloween, or baby showers. You can easily customize the colors and shapes to match the occasion, making them a more personal touch than store-bought treats.
Gift-Worthy Treats
These decorated cookies also make lovely gifts. Package them in decorative boxes or cellophane bags, and tie them with a pretty ribbon for a thoughtful present. Friends and family will appreciate the effort you put into creating such delightful homemade goodies.
Snack Time and Desserts
Serve these cookies as a sweet treat during afternoon tea or as snacks for kids’ playdates. They can also be a fun dessert option after dinner, allowing everyone to indulge in a sweet, visually appealing cookie. With their delicious flavor and charming appearance, these cookies will be a hit with guests of all ages.
In summary, these icing-decorated cookies are not just treats; they are versatile additions to any celebration or casual gathering, making every moment a bit sweeter!

Time Breakdown
When it comes to cookie decorating with glace icing, timing is key. Below is a quick overview of the time involved in this delightful process.
Preparation
15 minutes
Getting your ingredients together and mixing the icing is a breeze, making this a quick project for any busy schedule.
Decorating
15 minutes
Using piping bags or squeeze bottles, you can decorate your cookies with ease, allowing for creativity without a huge time commitment.
Total
30 minutes
In just half an hour, you can have beautifully decorated cookies ready to impress your friends and family! To save time, prepare all your materials in advance and work in batches.
Nutritional Facts
Understanding the nutritional content of your decorated cookies can enhance your baking experience. Each cookie made with this glace icing recipe yields approximately 80 calories, with 15 grams of sugar and minimal fat. This makes them a delightful treat that won’t weigh you down.
In total, this recipe yields 12 cookies, allowing you to share or enjoy them over time. With only 5 mg of sodium and no cholesterol, these cookies can be a guilt-free indulgence. Remember, while they are sweet, moderation is key to enjoying treats like these without compromising your dietary goals.
FAQ Based on ‘People Also Ask’ Section
What is glace icing?
Glace icing is a simple, sweet icing made primarily from powdered sugar, milk, and flavoring, used to decorate cookies. Its smooth texture allows for easy application and a beautiful finish, making it perfect for cookie decorating.
How can I make my icing dry faster?
To help your glace icing dry faster, ensure you apply a thin layer and place the decorated cookies in a cool, dry area. Using a fan can also help speed up the drying process without disturbing the icing.
Can I store decorated cookies?
Yes, you can store decorated cookies! Once the icing is completely dry, place the cookies in an airtight container. They can be kept at room temperature for several days, or in the refrigerator for longer freshness.
How do I adjust the consistency of my icing?
If your icing is too thick, add a little more milk to thin it out. Conversely, if it’s too runny, gradually add more powdered sugar until you reach the desired consistency. Adjusting the icing will help you achieve the perfect look for your cookie designs.
Conclusion
In conclusion, this tutorial on cookie decorating with glace icing offers a simple yet enjoyable way to enhance your baking experience. With just a few ingredients and straightforward instructions, you can create beautiful, personalized cookies that are perfect for any occasion.
Whether you’re an experienced baker or a novice, the joy of decorating cookies can be incredibly rewarding. Remember to experiment with colors and designs, making each batch uniquely yours. So gather your supplies, unleash your creativity, and enjoy the process of bringing your delicious cookie visions to life! Don’t forget to share your creations with friends and family, and happy baking!
Print
Cookie Decorating with Glace Icing
- Total Time: 15 minutes
- Yield: 12 cookies 1x
Description
Learn how to decorate cookies with delicious glaze icing.
Ingredients
- 2 cups powdered sugar
- 2 tablespoons milk
- 1 teaspoon vanilla extract
- food coloring (optional)
Instructions
- In a bowl, mix powdered sugar with milk and vanilla extract until smooth.
- If using, divide icing into bowls and mix in food coloring.
- Use piping bags or a squeeze bottle to decorate cookies.
- Allow icing to dry completely before serving.
Notes
- You can adjust the consistency of the icing by adding more milk or powdered sugar.
- For a shinier finish, use a little corn syrup in your icing.
- Prep Time: 15 minutes
- Category: Dessert
- Method: No-Bake
- Cuisine: American
Nutrition
- Serving Size: 1 cookie
- Calories: 80
- Sugar: 15g
- Sodium: 5mg
- Fat: 0g
- Saturated Fat: 0g
- Unsaturated Fat: 0g
- Trans Fat: 0g
- Carbohydrates: 20g
- Fiber: 0g
- Protein: 0g
- Cholesterol: 0mg